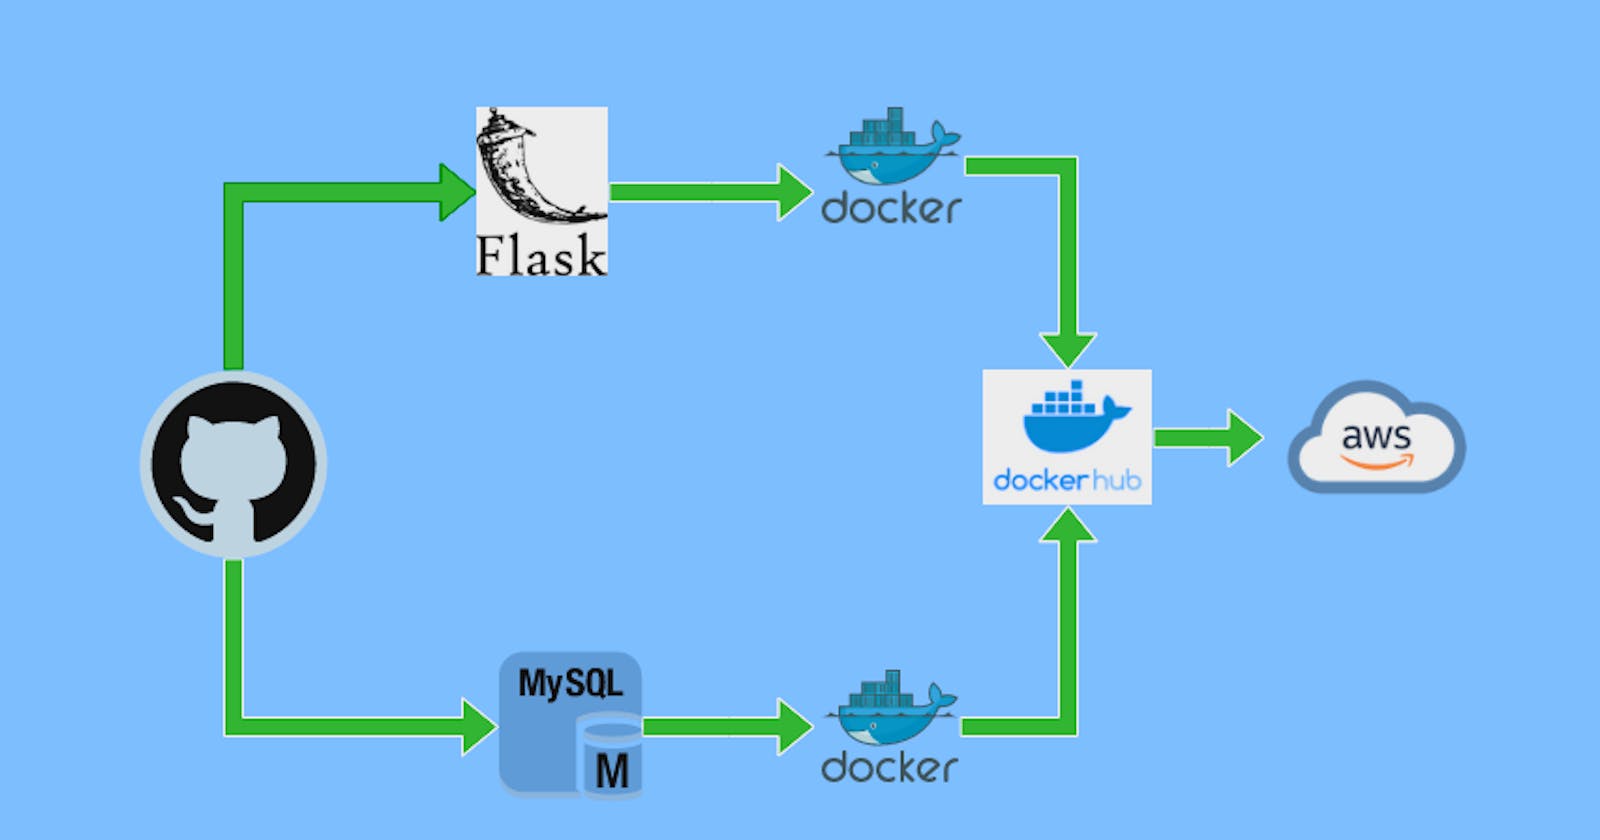
Deploying a 2-tier application with Docker involves several steps. Here's a high-level overview:
Setup AWS EC2 Instances:
Launch two EC2 instances (one for each tier).
Choose the appropriate instance type based on your application's requirements.
Ensure each instance has the necessary security group settings to allow traffic between them.
Install Docker:
- Install Docker on each instance. You can use the official Docker installation instructions for your operating system.
sudo apt update
sudo apt install docker.io
sudo chown $USER /var/run/docker.sock
Clone the GitHub Repository:
- Clone the GitHub repository follow these command:
git clone https://github.com/RahulSinha9/Two-tier-flask-app.git
Create a Docker File:
- To create a docker file follow these command
vim Dockerfile
Inside the Dockerfile:
# Use an official Python runtime as the base image
FROM python:3.9-slim

# Set the working directory in the container
WORKDIR /app

# install required packages for system
RUN apt-get update \
    && apt-get upgrade -y \
    && apt-get install -y gcc default-libmysqlclient-dev pkg-config \
    && rm -rf /var/lib/apt/lists/*

# Copy the requirements file into the container
COPY requirements.txt .

# Install app dependencies
RUN pip install mysqlclient
RUN pip install --no-cache-dir -r requirements.txt

# Copy the rest of the application code
COPY . .

# Specify the command to run your application
CMD ["python", "app.py"]
First create a docker image from Dockerfile:
docker build -t flaskapp .
Now, make sure that you have created a network using following command:
docker network create twotier
Attach both the containers in the same network, so that they can communicate with each other:
- MySQL container:
docker run -d -p 3306:3306 --network=twotier -e MYSQL_DATABASE=myDb -e MYSQL_USER=admin -e MYSQL_PASSWORD=admin -e MYSQL_ROOT_PASSWORD=admin --name=mysql mysql:5.7
- Backend container:
docker run -d -p 5000:5000 --network=twotier -e MYSQL_HOST=mysql -e MYSQL_USER=admin -e MYSQL_PASSWORD=admin -e MYSQL_DB=myDb --name=flaskapp flaskapp:latest
Access the Flask App: You can now access the Flask app in your web browser:

For databaseaccess:
docker exec -it <db_container_id> bash
Then you have to run these command toenter in mysql:
mysql -u root -p
Then, enter the password to access your databases:
To show the Databases:
show databases;
To use the database:
use <name_of_db>;
Create themessagestable in your MySQL database:
- Use a MySQL client or tool (e.g., phpMyAdmin) to execute the following SQL commands:
CREATE TABLE messages (
    id INT AUTO_INCREMENT PRIMARY KEY,
    message TEXT
);
Show the data of table:
select * from <table_name>;

To push your Docker image to Docker Hub, you need to follow these steps:
- Tag your Docker Image: Before pushing the image, you need to tag it with your Docker Hub username and repository name. You can do this using the
docker tagcommand. Replaceyourusernamewith your Docker Hub username andrepositorynamewith the name you want to give to your repository:
docker tag image_id yourusername/repositoryname:tag
Here,
image_idis the ID of your Docker image, andtagis an optional tag you want to associate with your image (e.g.,latest).Log in to Docker Hub: Use the
docker logincommand to authenticate with Docker Hub. You'll be prompted to enter your Docker Hub username and password:
docker login
- Push your Docker Image: Once you're logged in, you can push your Docker image to Docker Hub using the
docker pushcommand:
docker push yourusername/repositoryname:tag
Replace
yourusernameandrepositorynamewith your Docker Hub username and repository name, respectively. If you've tagged your image with a specific tag, include that tag in the command.Verify: After pushing the image, you can verify that it has been successfully pushed to Docker Hub by visiting your Docker Hub account in a web browser and navigating to the repository you pushed the image to.
Here's a summary of the commands:
# Tag your Docker image
docker tag image_id yourusername/repositoryname:tag

# Log in to Docker Hub
docker login

# Push your Docker image to Docker Hub
docker push yourusername/repositoryname:tag
Replace image_id, yourusername, repositoryname, and tag with your specific values.
Once the push is complete, your Docker image will be available on Docker Hub, and you can share it with others or use it in your deployments.

By deploying a two-tier Flask application with Docker and AWS, you're harnessing the power of modern DevOps practices to build scalable, resilient, and efficient cloud-native solutions. Here's to a successful deployment and the continuation of your DevOps journey! 🌟🚀 #FlaskDockerAWS #TwoTierDeployment #DevOpsJourney #CloudNative 🌐💻
